Technical SpecificationsModel: Palm-sized miniPCTy...
The AMD Mini PC Windows 10 Pro is a compact yet po...
This dual touchscreen gaming laptop combines cutti...
Maintenance instructions: Store at room temperatur...
Full SpecificationsModelHotus ST11‑MOSWindows 10/1...
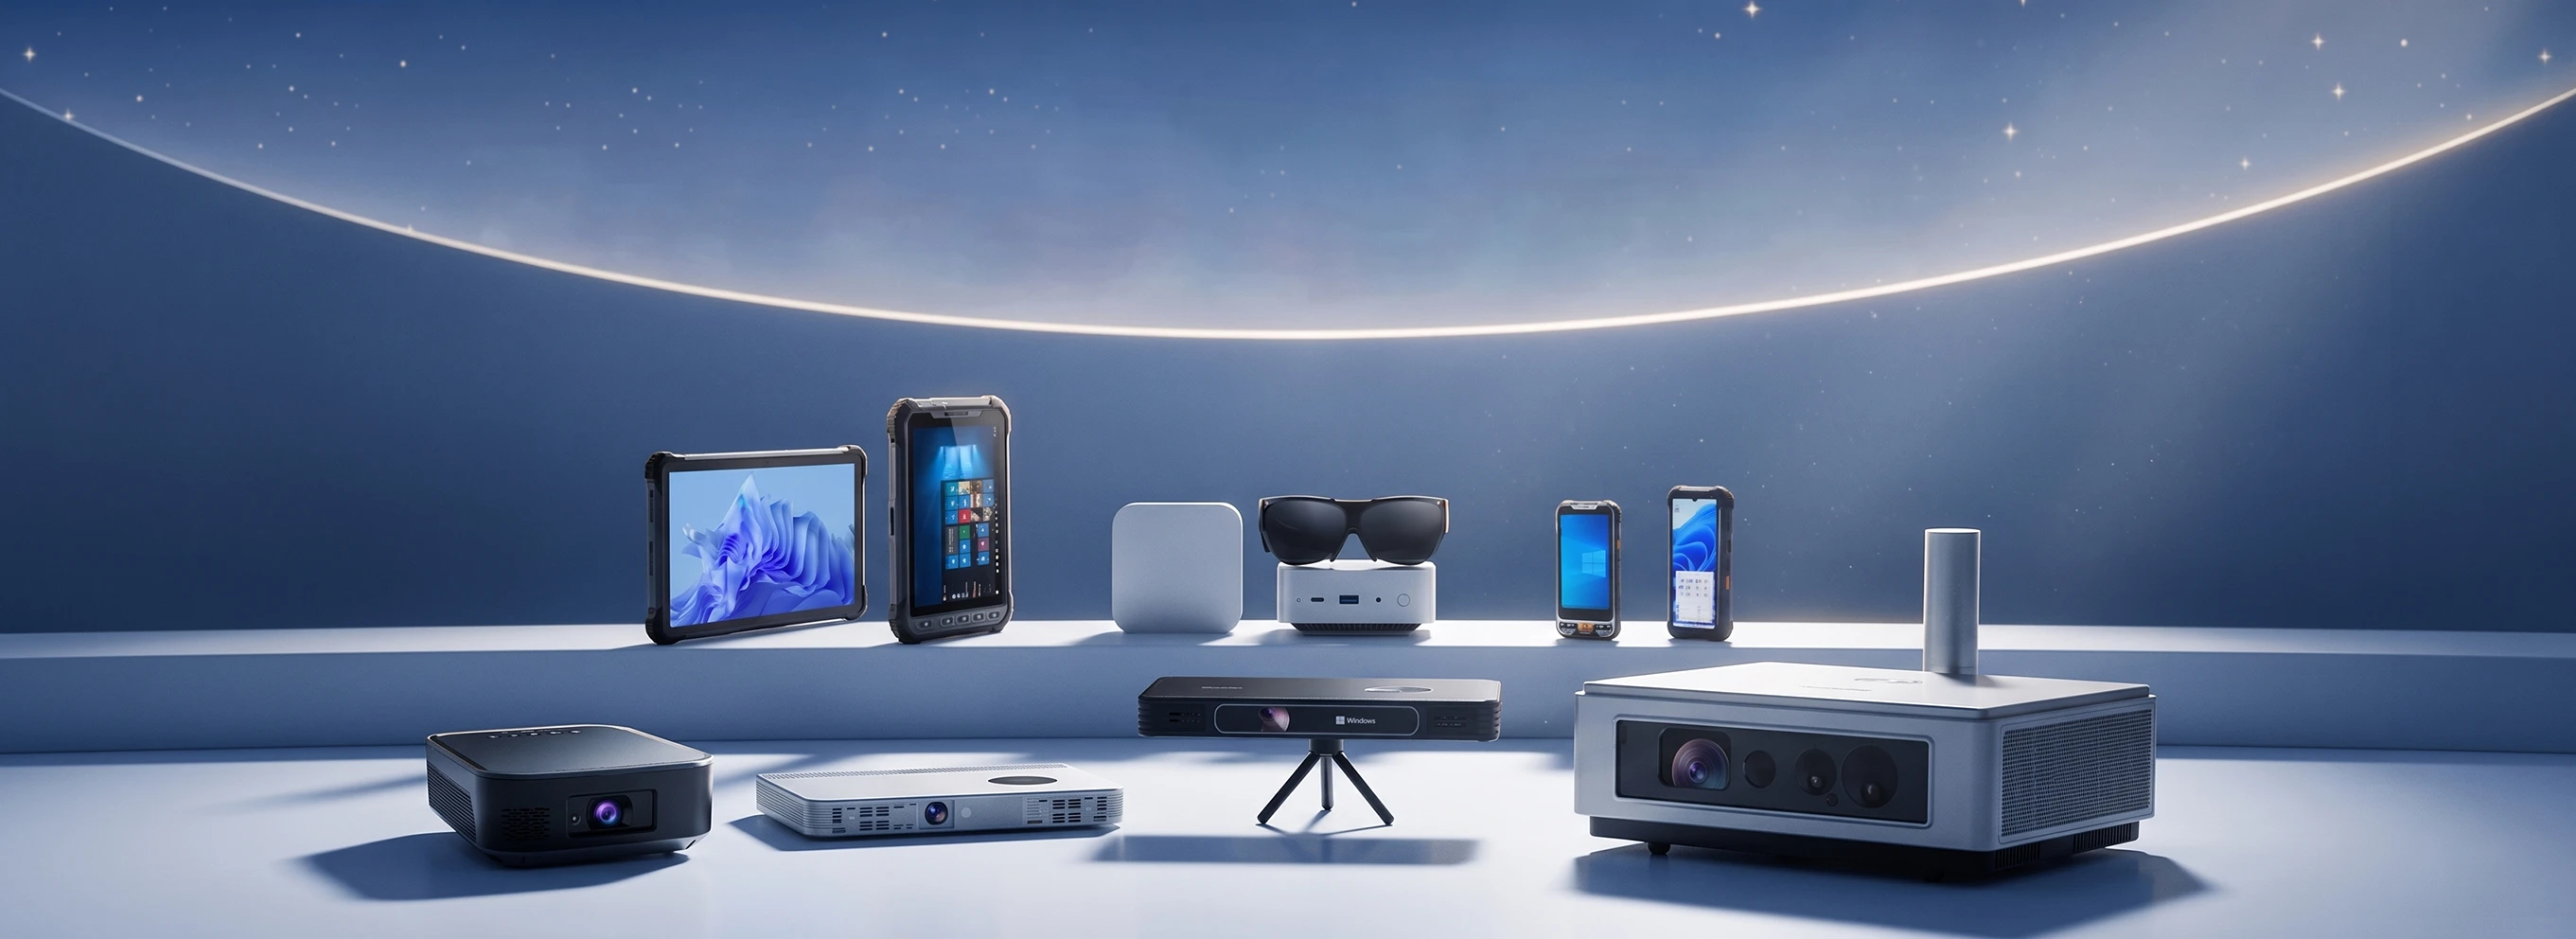
AR smart glasses are no longer just futuristic gadgets; they're becoming powerful tools for work, entertainment, navigation, and more. But to get the best experience, you need to set them up correctly and understand their core features.
This article guides you through unboxing, setup, connection, basic operation, and maintenance tips, so you can start using AR glasses like a pro.

1. Unboxing and Initial Inspection
Before turning on your device, take a few minutes to make sure everything is in place.
Inspect:
AR smart glasses
Charging cable and power adapter
Nose pads, ear hooks, or comfort accessories
Quick Start Guide and warranty card
Tip: If you purchased this for business use, please retain all packaging in case of warranty claims or bulk returns.
2. Charging Your AR Smart Glasses
Most AR smart glasses ship partially charged, but for optimal battery calibration, it's best to fully charge them first.
Use the original charger to avoid damaging the battery.
Charge until the indicator light shows 100% or turns green.
To ensure the long-term health of the battery, avoid overcharging overnight.
3. Pairing with a Smartphone or Computer
AR smart glasses typically connect via Bluetooth, Wi-Fi, or USB-C.
Bluetooth pairing steps:
Turn on your AR smart glasses (typically by holding the power button for 2-3 seconds).
Open the Bluetooth settings on your phone/tablet/computer.
Select the device name from the list and confirm pairing.

Install the manufacturer's companion app for full functionality.
Pro Tip: If your glasses have Wi-Fi, connect them to your home or office network for faster updates and cloud syncing.
4. Setting up the AR display and calibration
For the most comfortable viewing experience:
Adjust the brightness based on your environment.
Use the companion app to calibrate the lenses so that the virtual overlay aligns with your real-world view.
Enable eye tracking or gesture control (if supported).
Depending on your needs, you may need:
Navigation and Maps: AR walking/driving directions.
Productivity Tools: AR whiteboard, remote assistance apps.
Entertainment: AR games, media streaming. Translation Tool: A real-time language overlay for travel or business.
6. Learning Basic Controls
AR smart glasses use different input methods:
Touchpad Gestures: Swipe, tap, and long press for menu navigation.
Voice Commands: Activate with a wake word (e.g., "Hey Glass") for hands-free operation.
Gesture Recognition: Use gestures in front of the camera to select or move objects.
Head Tracking: Look at objects or menu items to select them.
7. Maintaining and Cleaning Your AR Glasses
Keep them in top condition:
Clean the lenses with a microfiber cloth.
Store them in a protective case when not in use.
Avoid extreme temperatures and humidity.
Update the firmware regularly to improve performance and install security patches.
8. Troubleshooting Common Problems
Disconnection: Restart both devices and re-pair via Bluetooth/Wi-Fi.
Blurry Display: Recalibrate the lenses and adjust for comfort.
Battery Life: Reduce brightness, disable unused features, and keep the software updated.

Conclusion
Properly setting up your AR smart glasses ensures optimal performance and comfort from day one. Whether you're using them for work, training, navigation, or entertainment, following the steps below will help you enjoy a seamless AR experience.
If you're an enterprise buyer, investing in proper setup and employee training can significantly increase adoption rates and ROI.