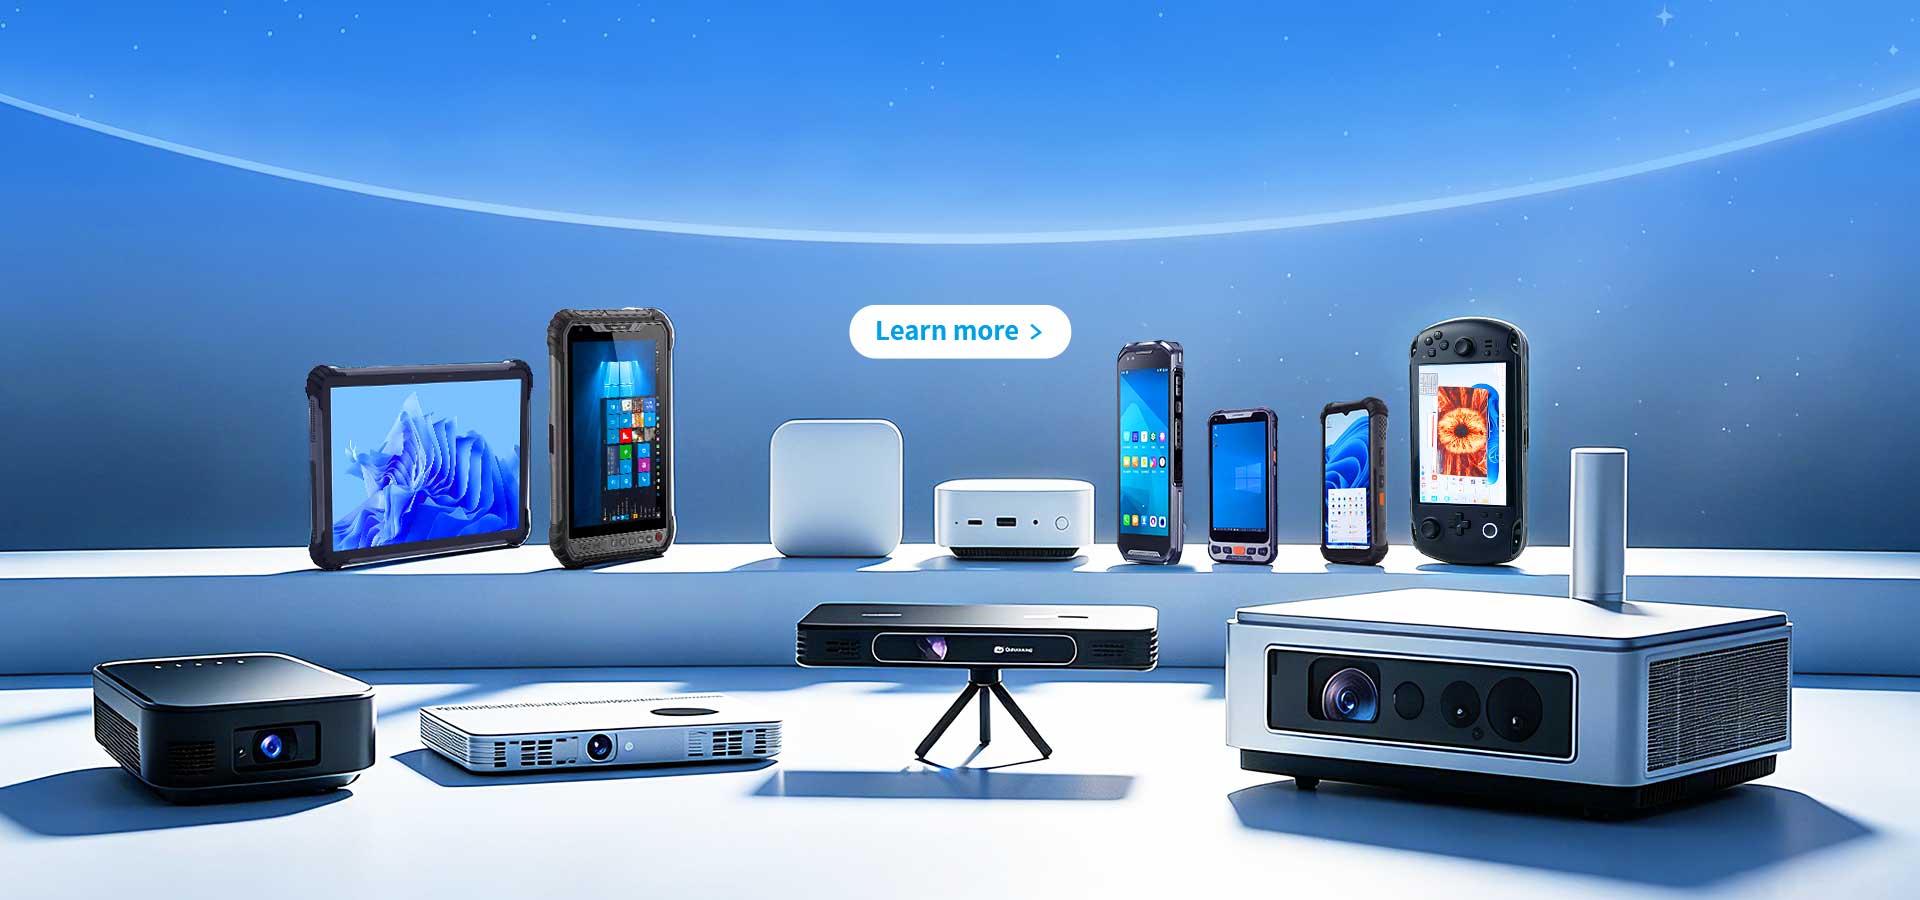
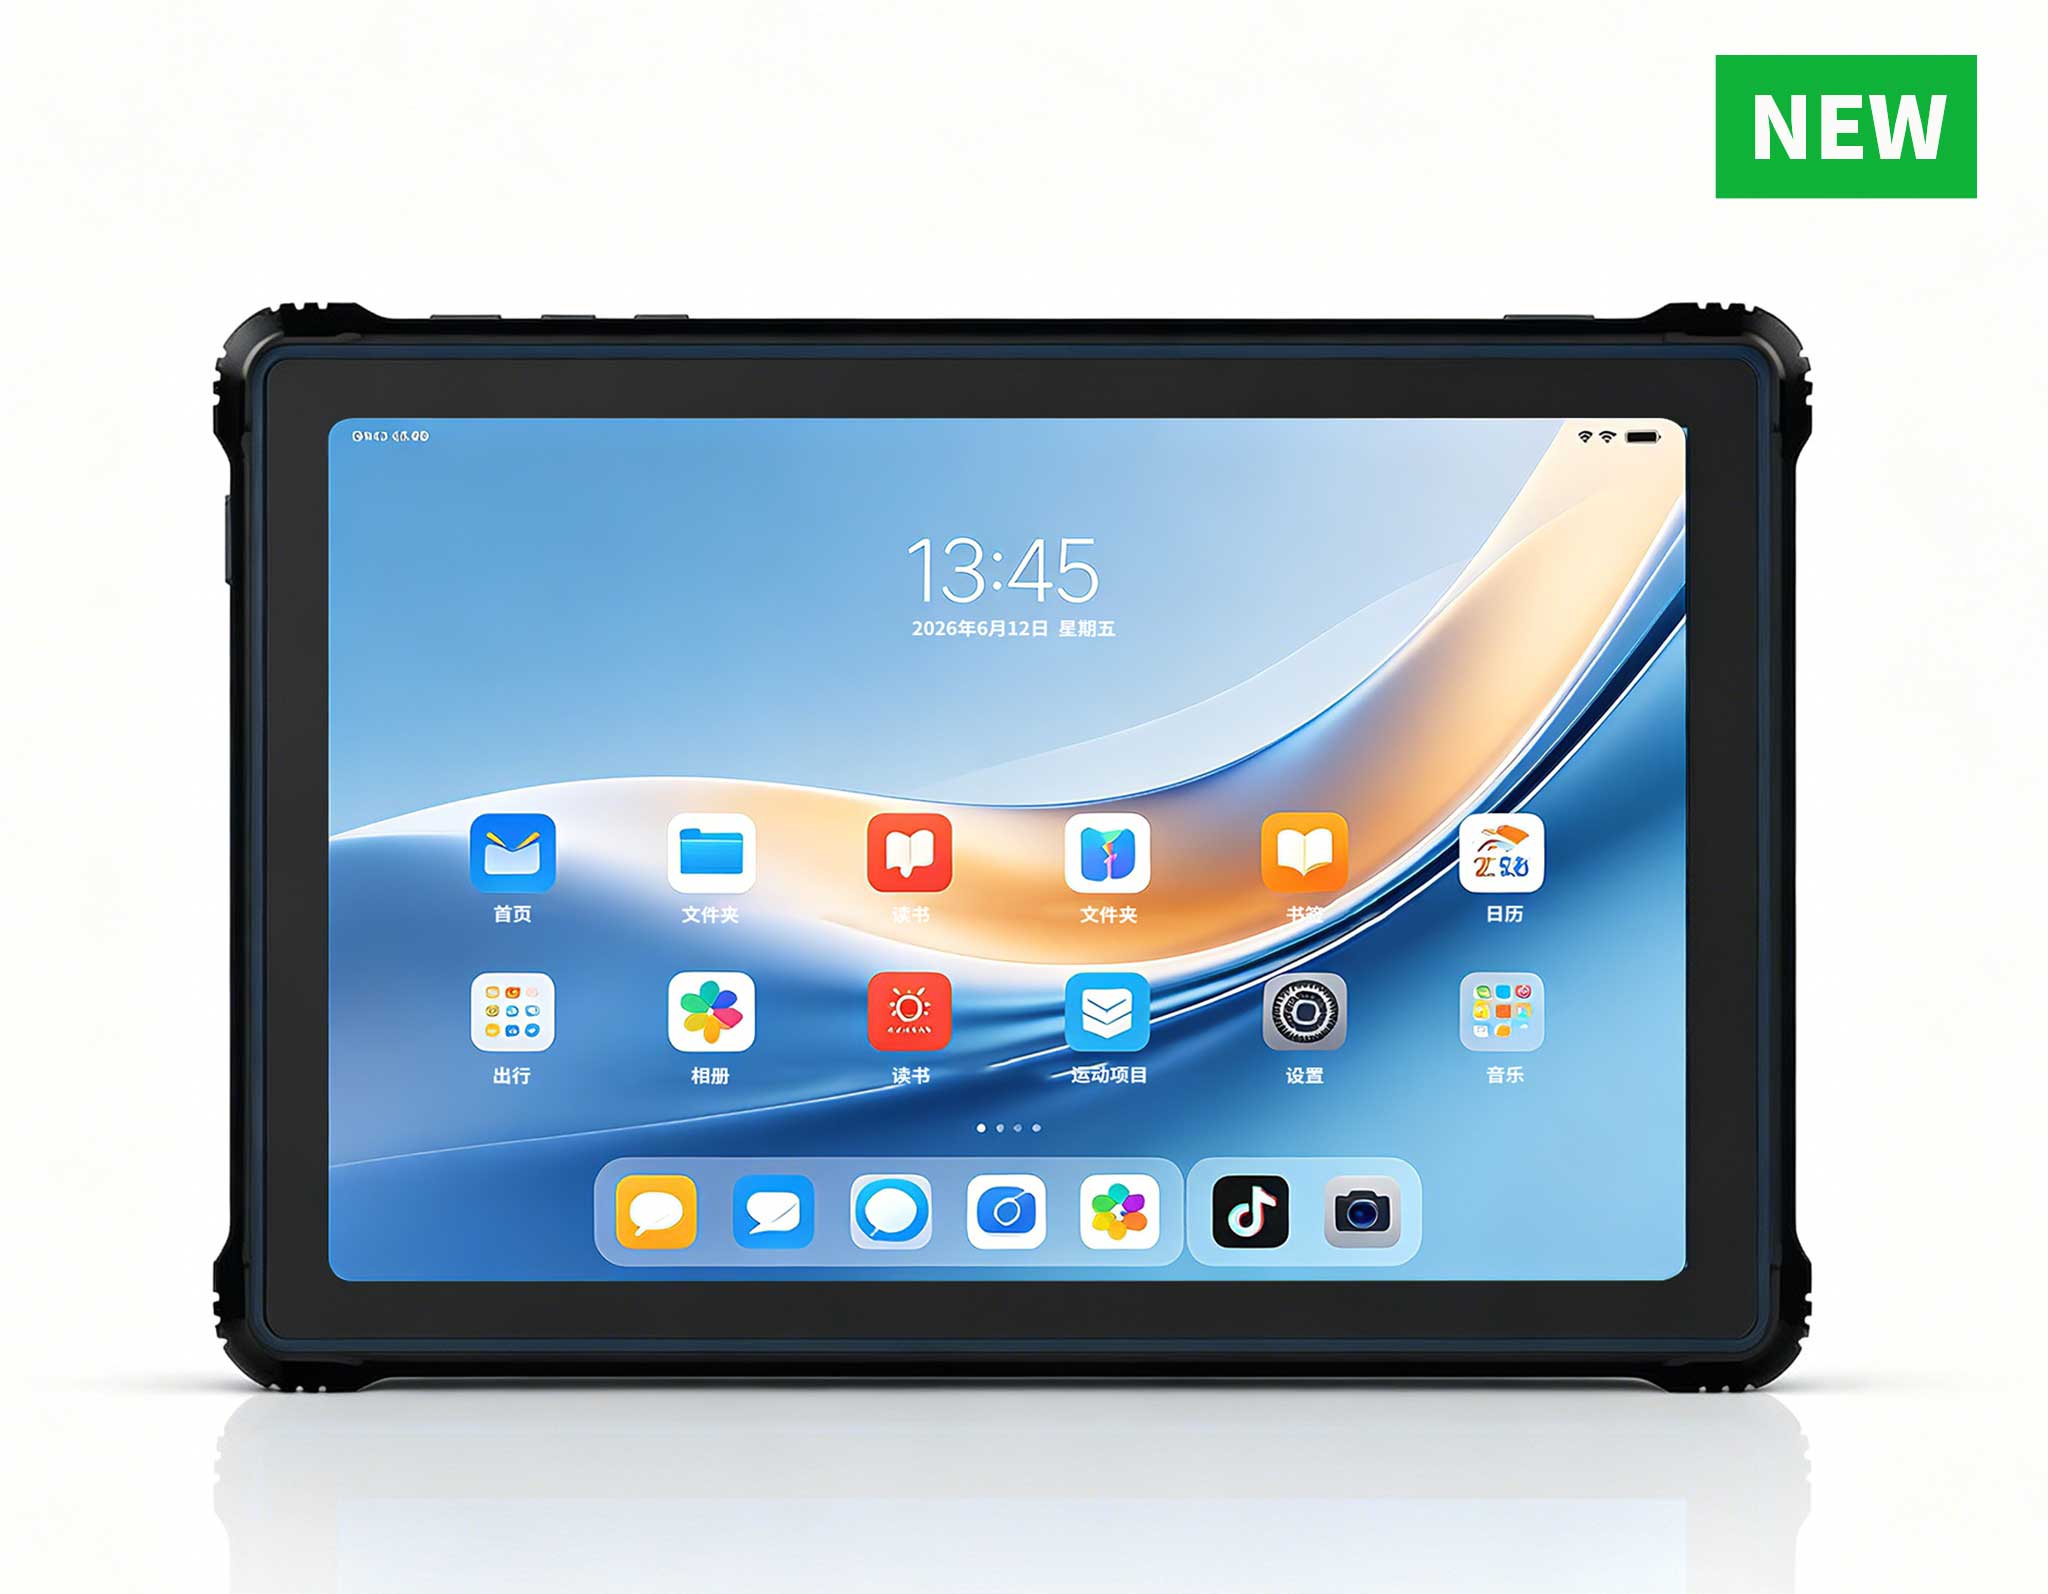
RT81 4G Rugged Tablet | 10.1" FHD 400nit | Qu...
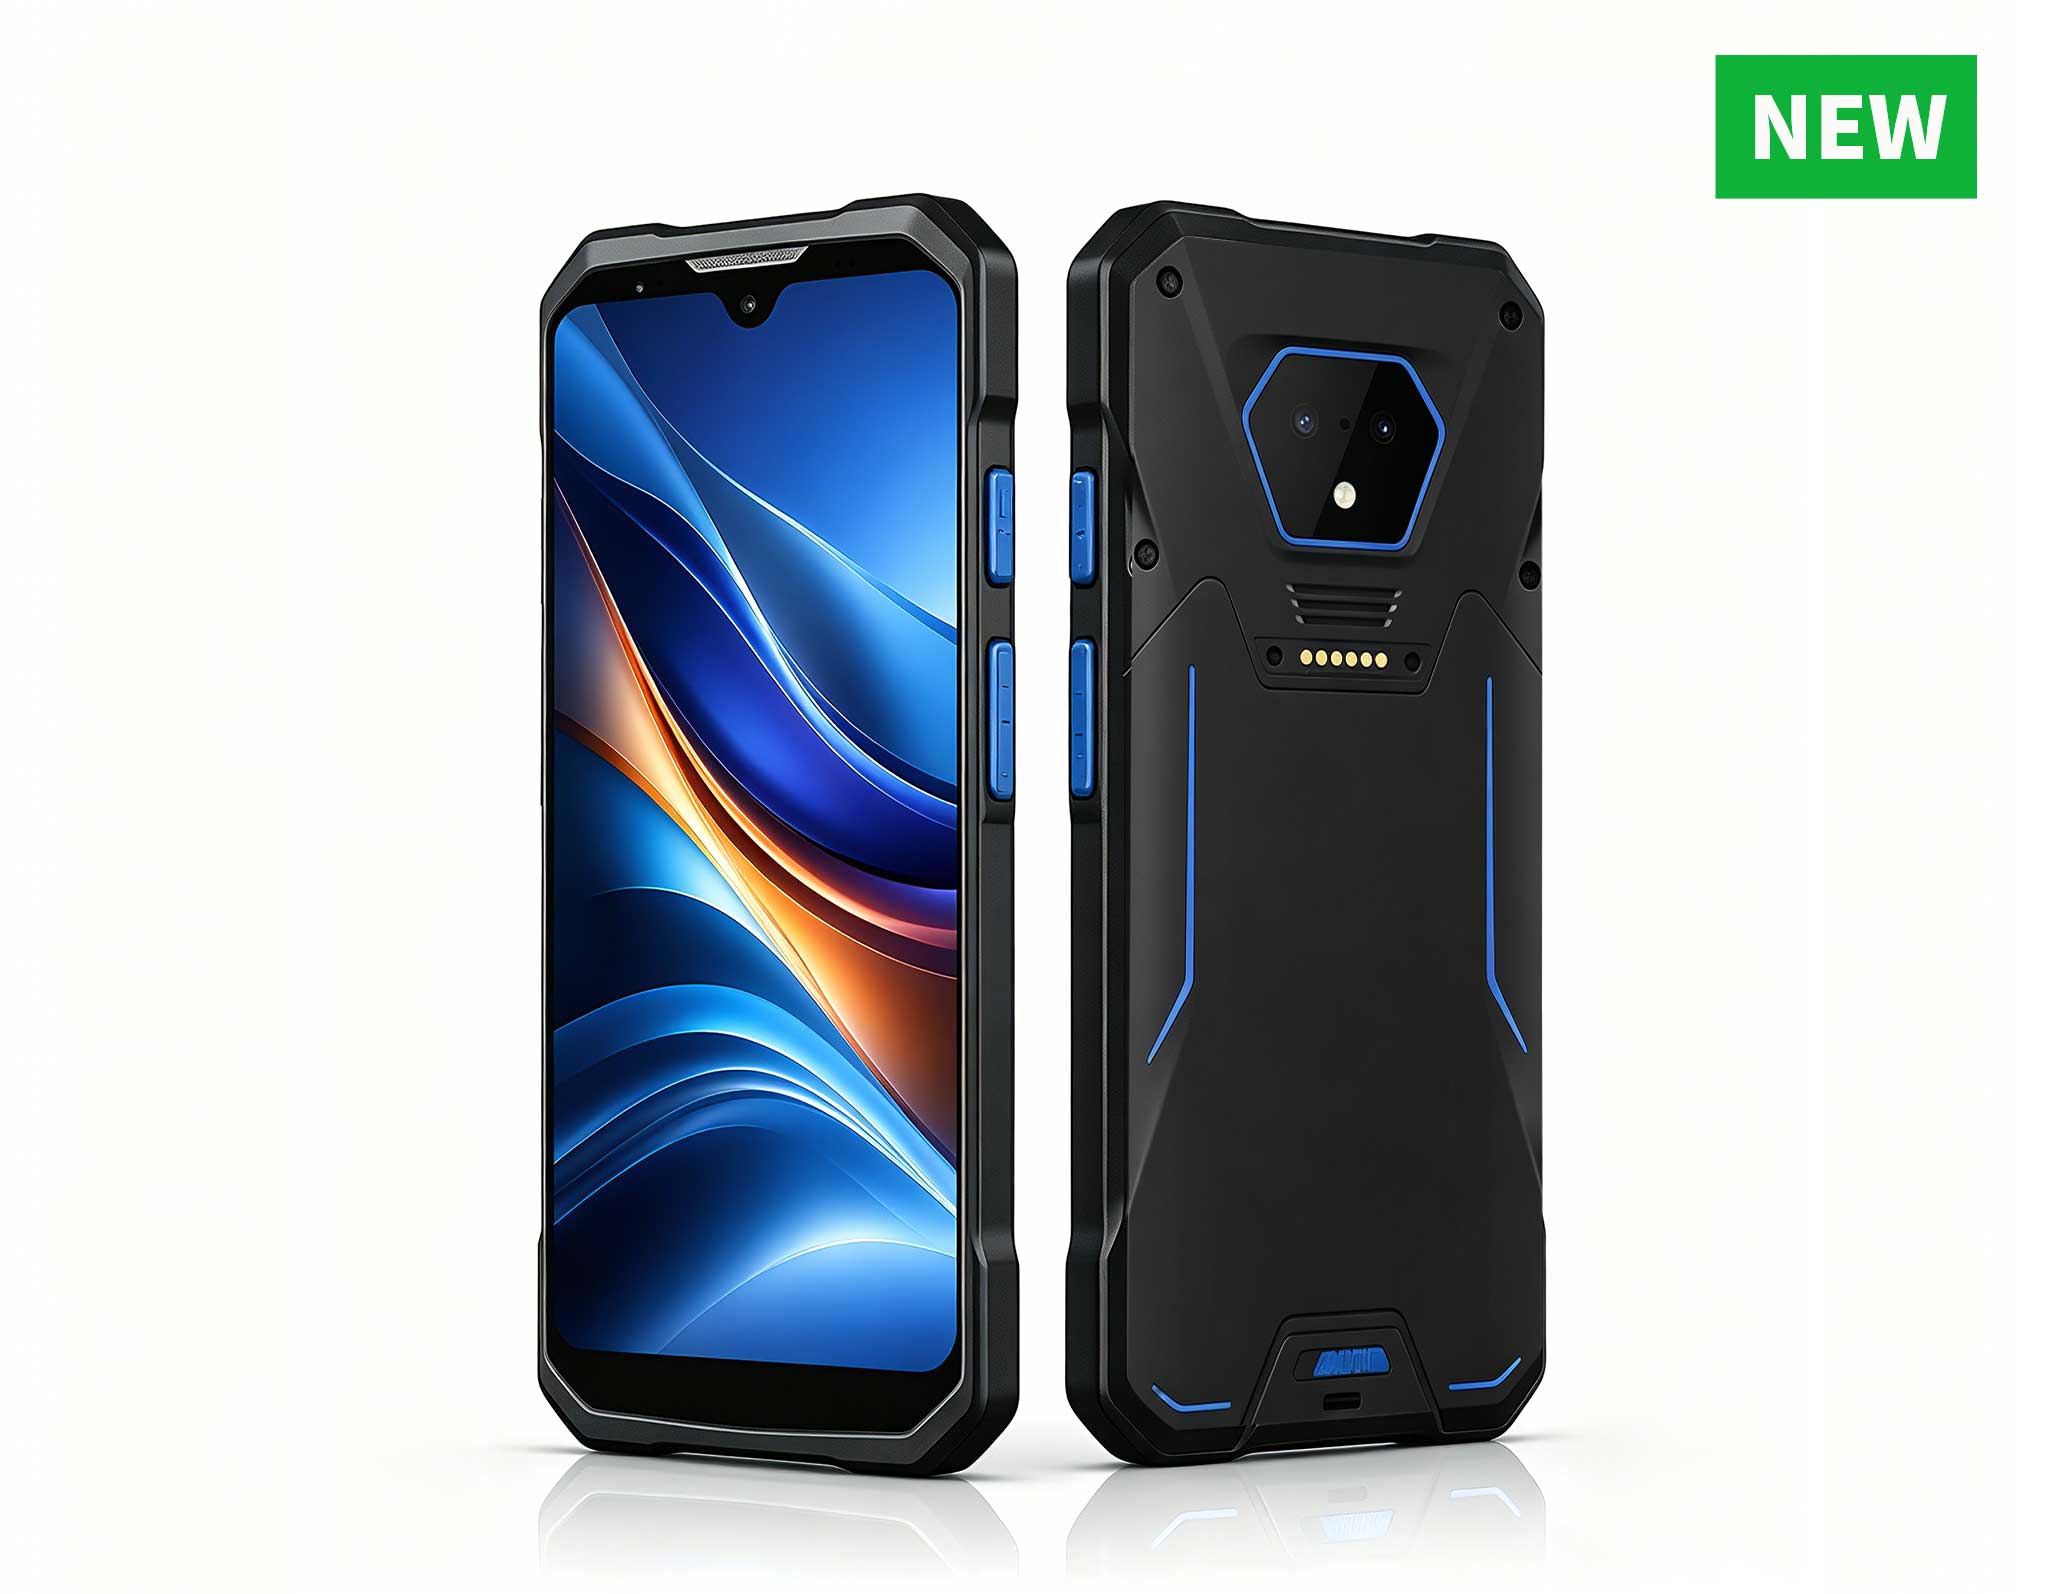
RS51 4G Rugged Handheld Terminal | 6.3" FHD+ ...
This 10-inch Android rugged tablet is designed for...
The N40 Android smart PDA features a Cortex-A53 qu...
The EGPU Graphics Card Expansion Dock is a high-pe...
RT81 4G Rugged Tablet | 10.1" FHD 400nit | Qu...
The PM133-2 is a 13.3-inch portable monitor featur...
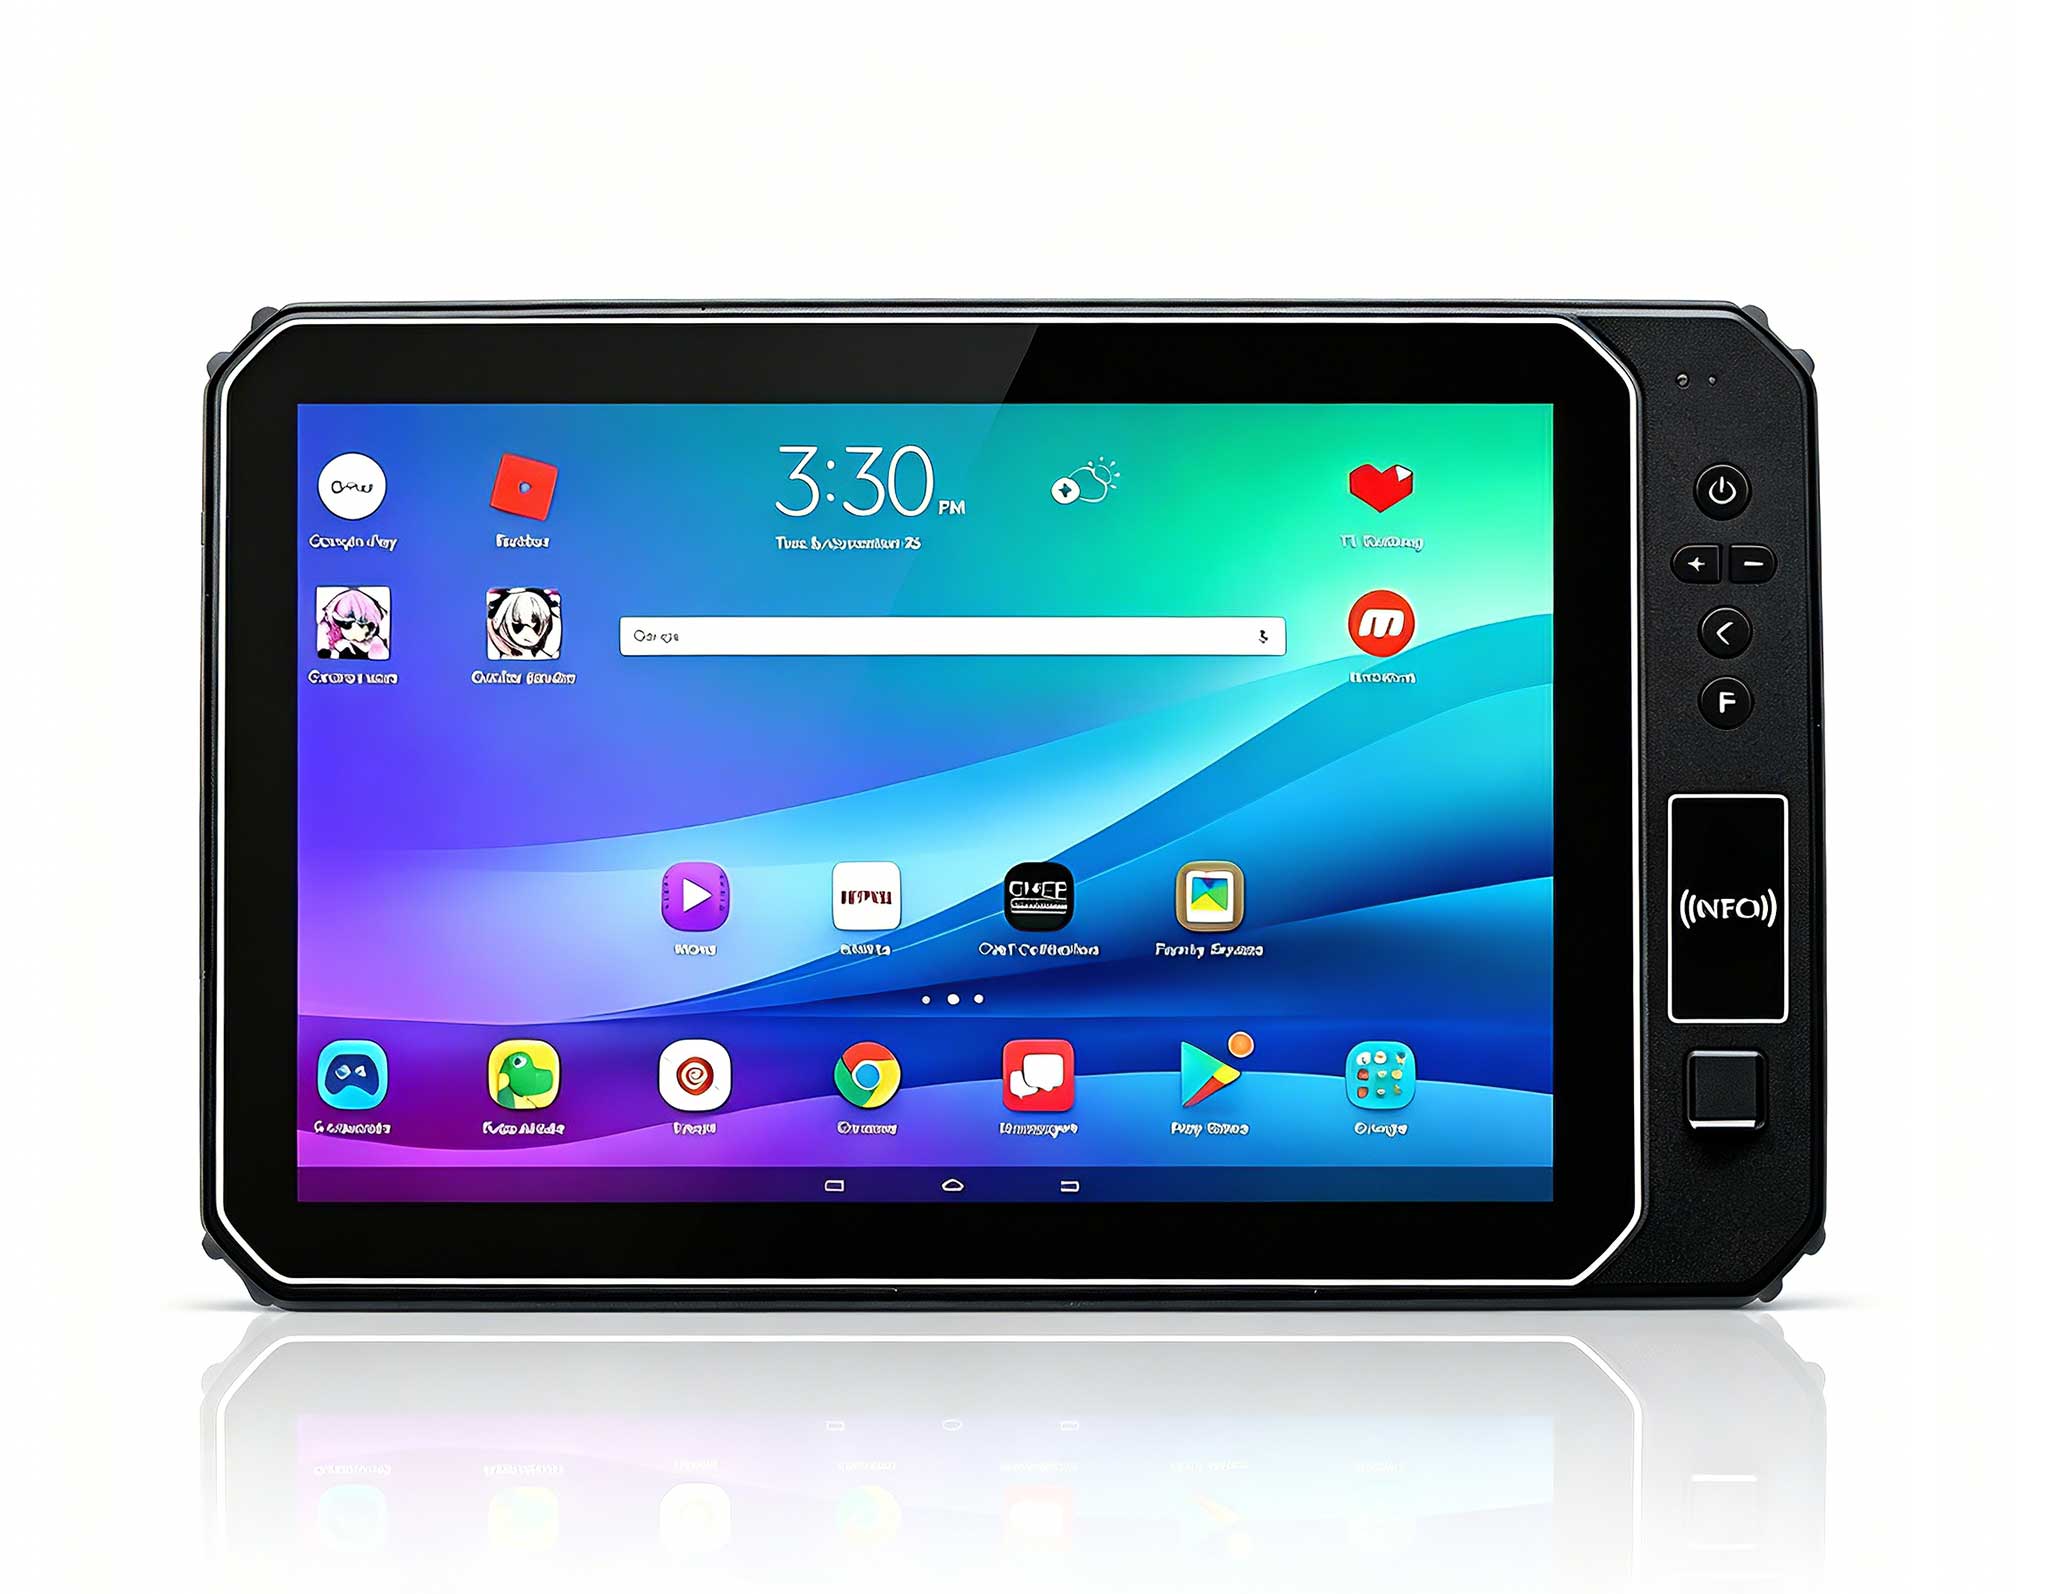
The U9000 handheld PDA combines advanced barcode s...
The X501 Handheld PDA combines advanced barcode sc...
Smartglasses are no longer just futuristic gadgets—they're becoming everyday companions for fitness, work, travel, and entertainment. If you've just purchased your first pair of smartglasses, this guide will walk you through setup, user experience, and common mistakes.
1. What You'll Need Before Setup
Before unboxing your smartglasses, please gather the following:
Compatible smartphone or device (Android/iOS)
Manufacturer's companion app
Wi-Fi or Bluetooth connection
USB-C or dedicated charging cable
Prescription lens adapter (if required for your vision)

Tip: Check the official user manual or website for the specific requirements of your device to avoid pairing errors.
2. Initial Setup: Step-by-Step Instructions
Step 1: Unboxing and Inspecting
Make sure all accessories (charging cable, cleaning cloth, nose pads) are included.
Check for protective film on your lenses and carefully remove it.
Step 2: Charging Before First Use
Plug in a wall adapter or power bank. Most smartglasses take 90-120 minutes to fully charge.
Step 3: Download and install the companion app.
Search for the app name in your device's app store.
grant the necessary permissions for Bluetooth, microphone, and notifications.
Step 4: Pair via Bluetooth or Wi-Fi.
Turn on the glasses (typically, press and hold the side button for 3-5 seconds).
Open the app → Select "Pair New Device" → Confirm the verification code when prompted.
Some AR models may require Wi-Fi to use cloud services (e.g., translation, AI assistant).

Step 5: Perform a firmware update.
Be sure to check for updates immediately after pairing. Updates can fix bugs and improve battery life.
3. Basic Operations
3.1 Touch and Voice Control
Touch or swipe the temple to play/pause music, answer calls, or adjust the volume.
Activate the voice assistant for hands-free operation.
3.2 Taking Photos and Recording
Double-click or long-press the button to take a photo or start recording a video.
Privacy Notice: The built-in LED indicator light is typically on when recording.
3.3 Display and AR Features (if supported)
Adjust brightness via the app or gestures. Use AR apps for navigation, translation, or viewing videos on a virtual screen.
3.4 Battery Management
Enable low-power mode for music playback only.
Store in the charging case (if included) (e.g., the Ray-Ban Meta Wayfarer).
4. Tips for Improving Your Everyday Experience
1. Wearing Comfort: Adjust the nose pads or choose lightweight frames for extended wear.
2. Lens Care: Clean with a microfiber cloth; avoid alcohol wipes to protect the coating.
3. App Customization: Configure gesture sensitivity, notification alerts, and preferred language.
4. Safety First: Open-back headphones are aware of your surroundings; do not use the AR HUD while driving.
5. Regular Updates: Keep the firmware and app updated to improve AI features and fix bugs.

5. Common Beginner Mistakes
Forgetting to fully charge the glasses the first time can lead to pairing failure or shortened battery life.
Skipping a firmware update can result in missing features or glitches.
Ignoring privacy settings: Camera and microphone permissions require review. For outdoor use without UV protection, ensure lenses have a UV400 rating or add clip-ons.
6. When to Upgrade or Add Accessories
Prescription lens adapters for everyday wearers
Clip-on sunglasses for outdoor activities
Carrying case with power bank for frequent travelers
Optional nose pads for increased comfort during exercise
Summary and Next Steps
Smart glasses can change the way you work, communicate, and consume content—but only if they're set up and customized correctly. Follow this guide to maximize your investment and unlock the full potential of wearable AI.